
Hi, in this post we will briefly see how to create a Unity application in Augmented Reality, using ARCore and Mapbox, we will see how to place objects belonging to the virtual world in a real scene in an uncontrolled environment.
Get Started
To create this application you need:
Unity versions higher than 2018 may present compatibility problems.
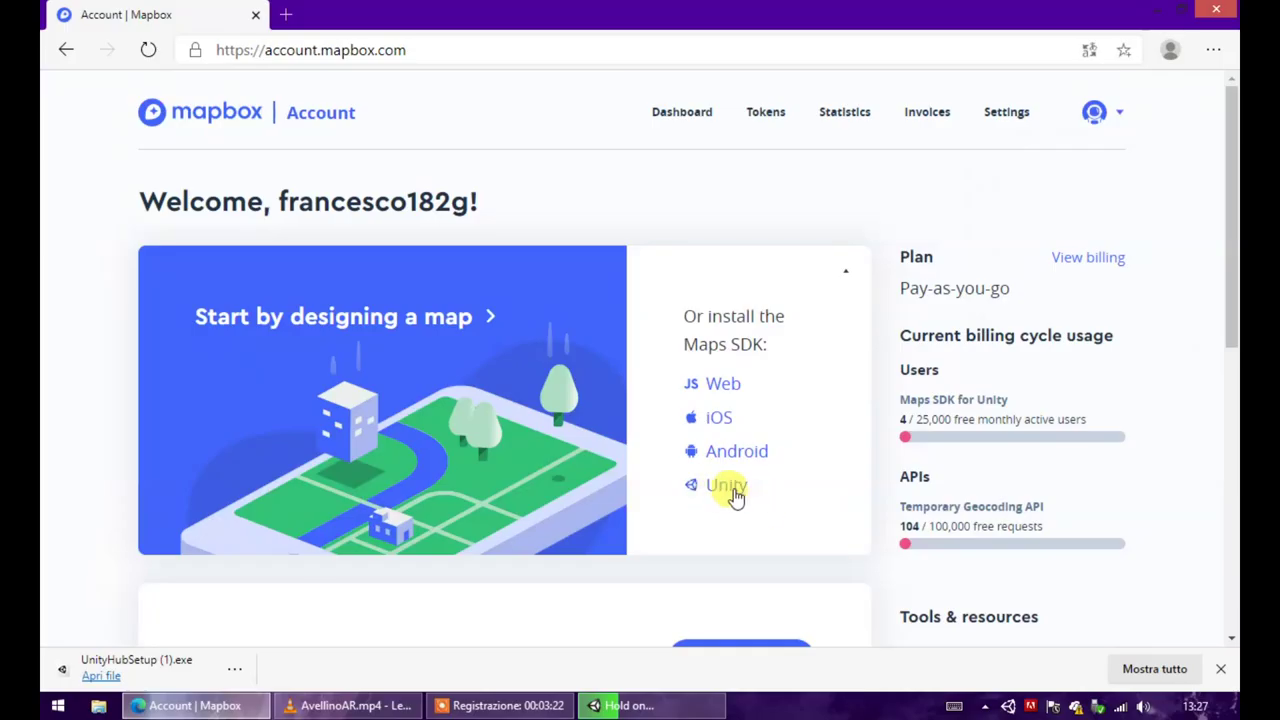
Create a [Mapbox] account (https://account.mapbox.com/);
Unity 2018
After installing Unity Hub, it is necessary to install Unity a cross-platform graphics software developed by Unity Technologies that allows the development of video games and other interactive content, such as architectural visualizations or 3D animations in real time.
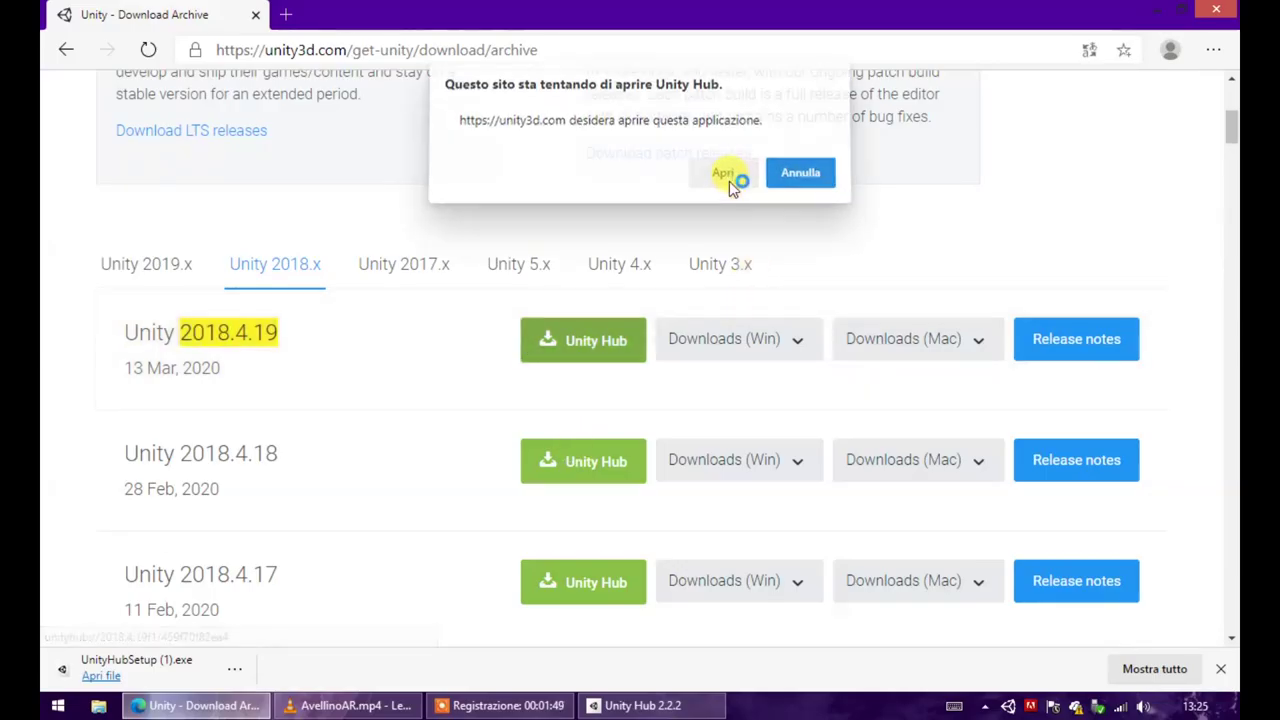
To install Unity 2018 version connect to the site https://unity3d.com/get-unity/download/archive) and download the latest version 2018.
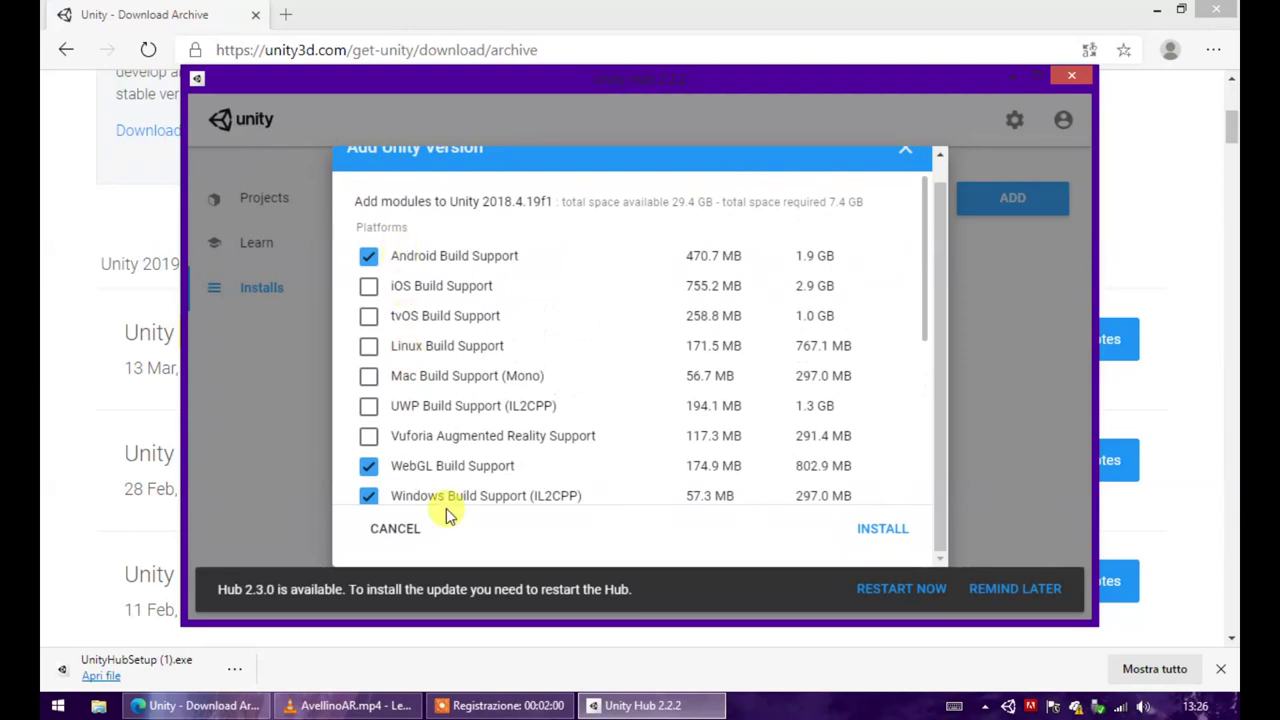
During the installation procedure it will be necessary to select:
- Android Build Support
- WebGL Build Support
- Windows Build Support (IL2CPP)
- Documentation
Create the AR + mapbox project with Unity
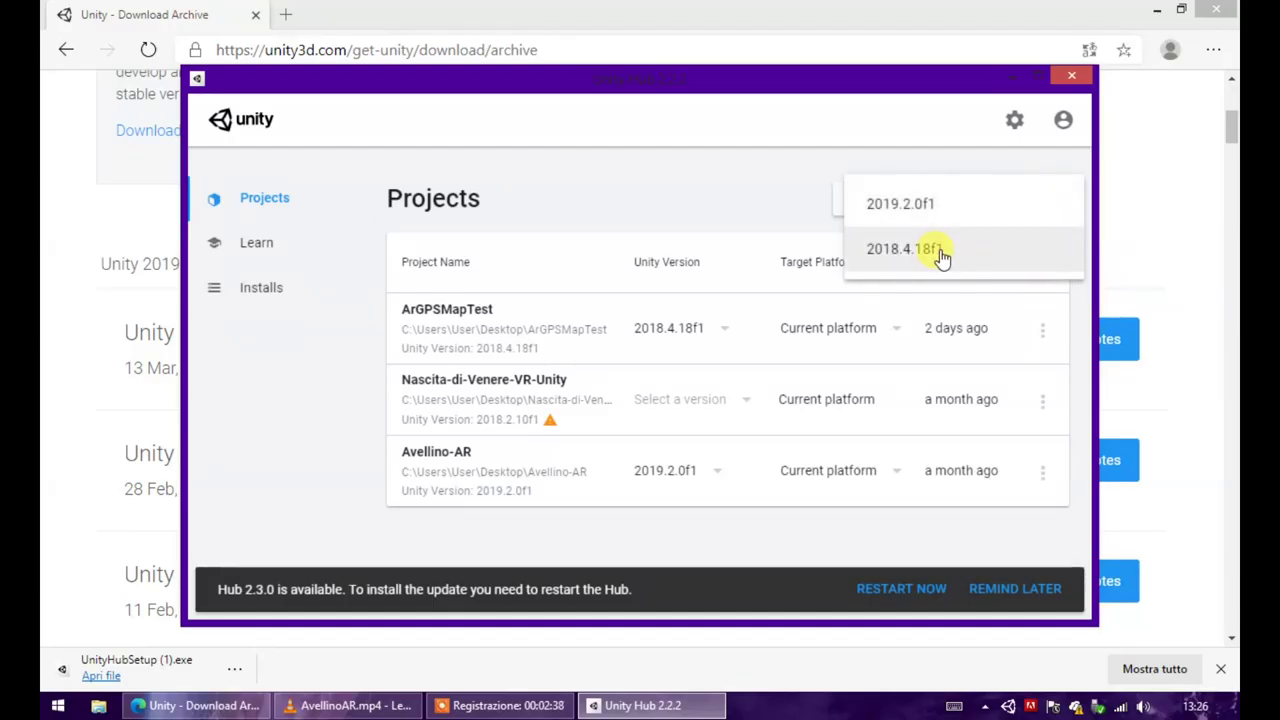
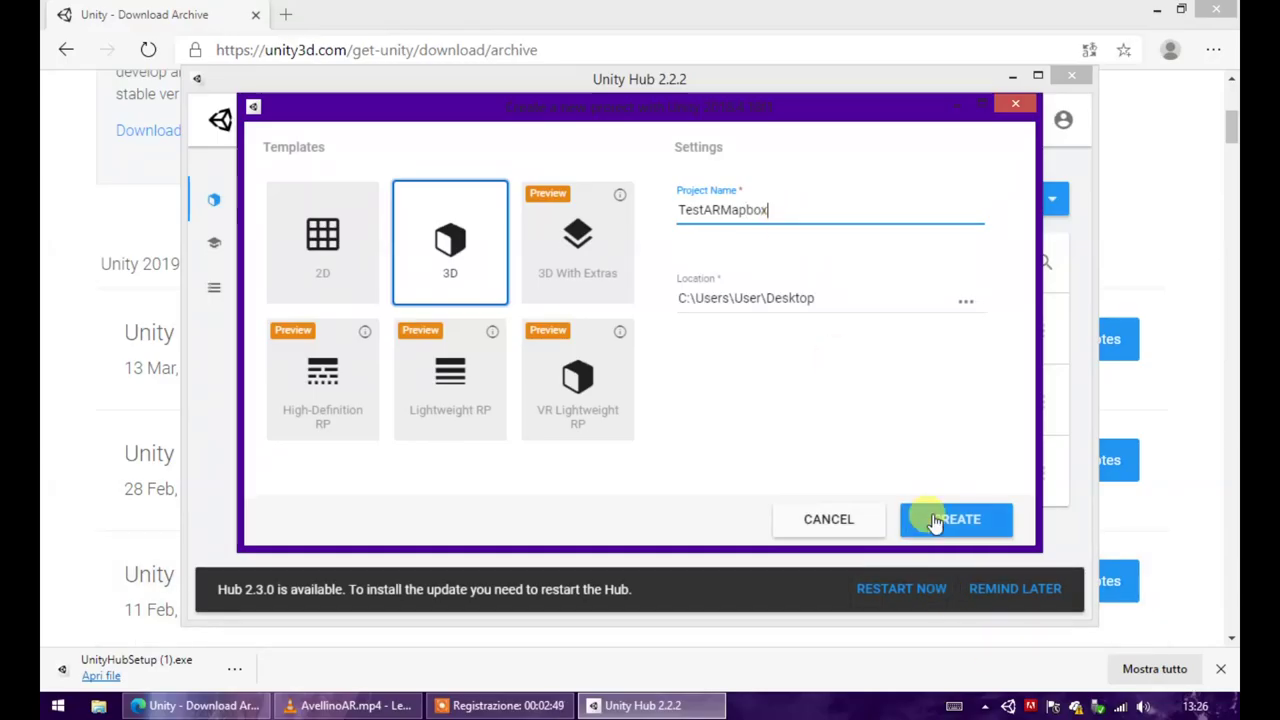
Now if you have performed the steps correctly you can create a project with Unity 2018, you can call it whatever you want.
Mapbox
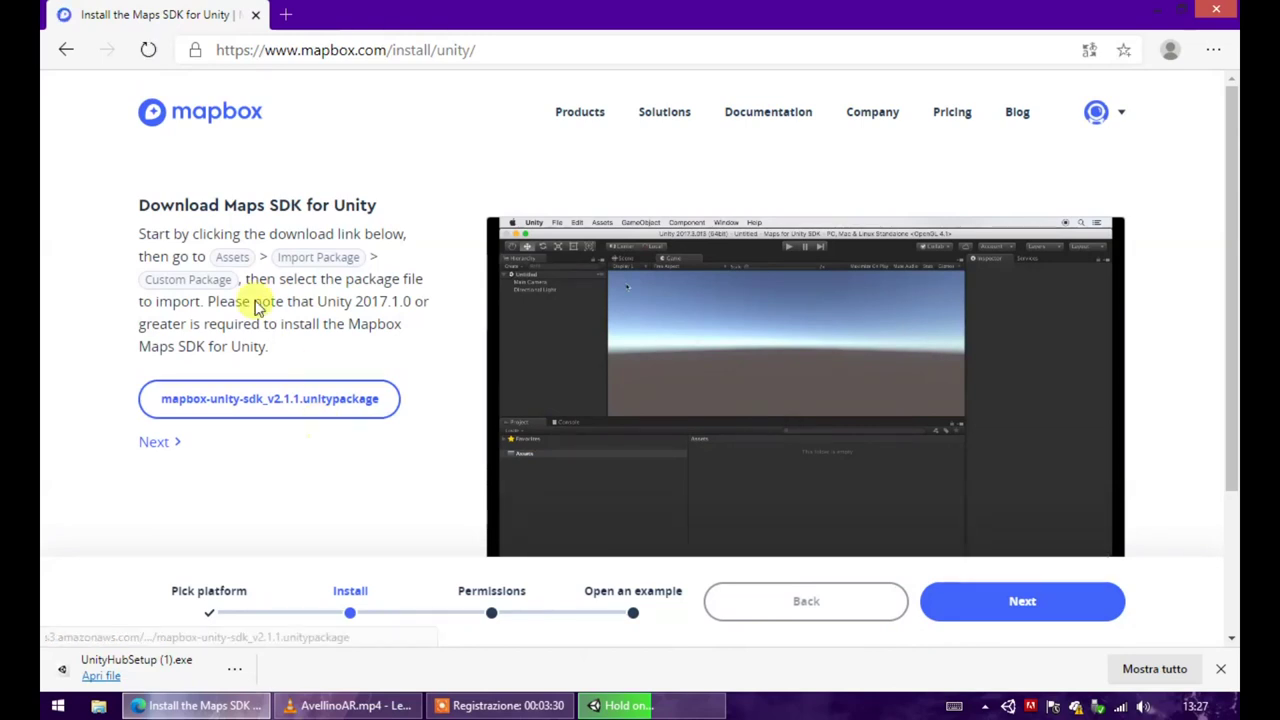
- From the official website Mapbox create an account and download the Unity SDK as shown in the photo below.
Install Mapbox in Unity
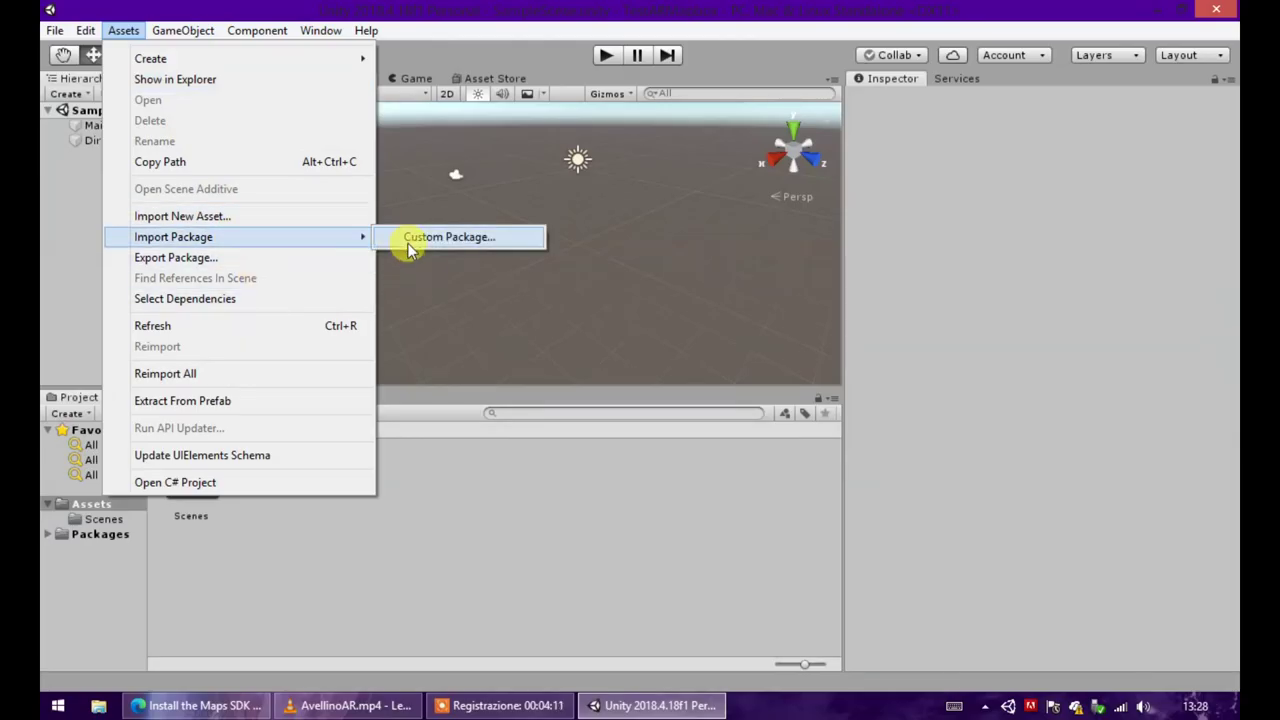
From the unity project created previously click on Assets -> Import Package -> Custom Package and select the downloaded package. Go back to the browser and copy the Mapbox activation token.
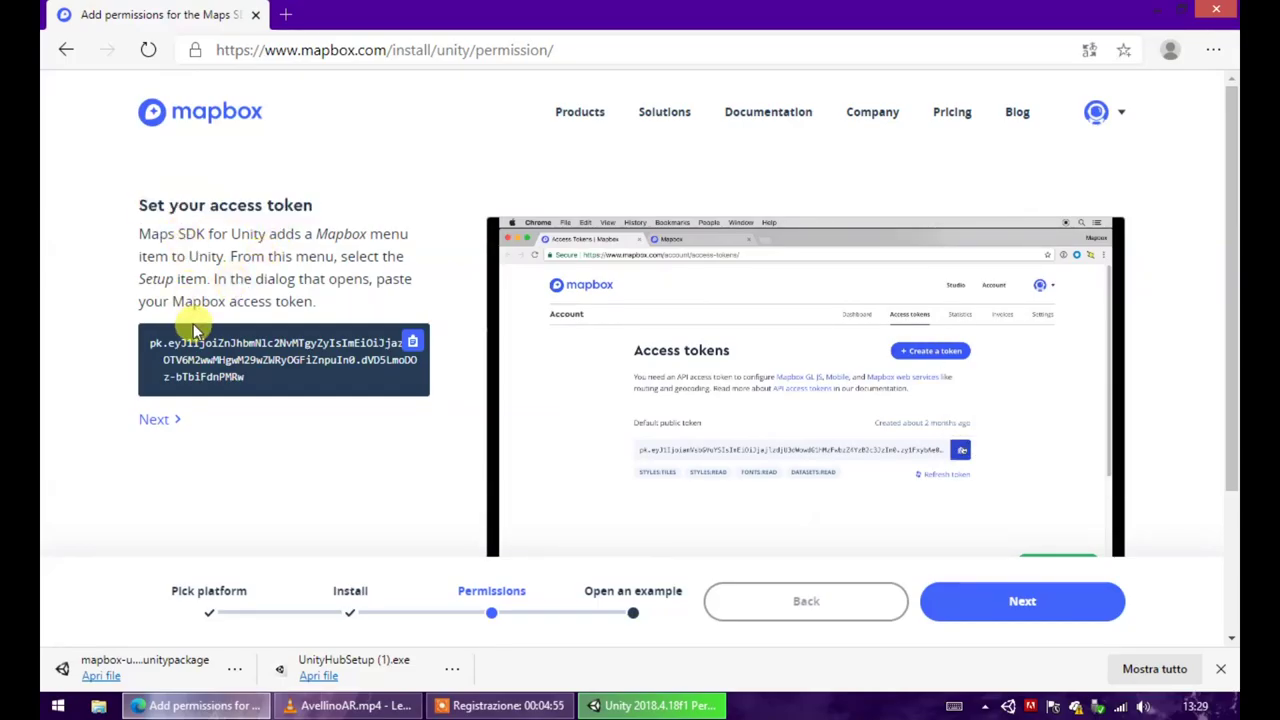
Finally paste the token into the Access Token bar and click on World Scale Ar.
Develop the project with Unity and Mapbox
We are now ready to customize our project.
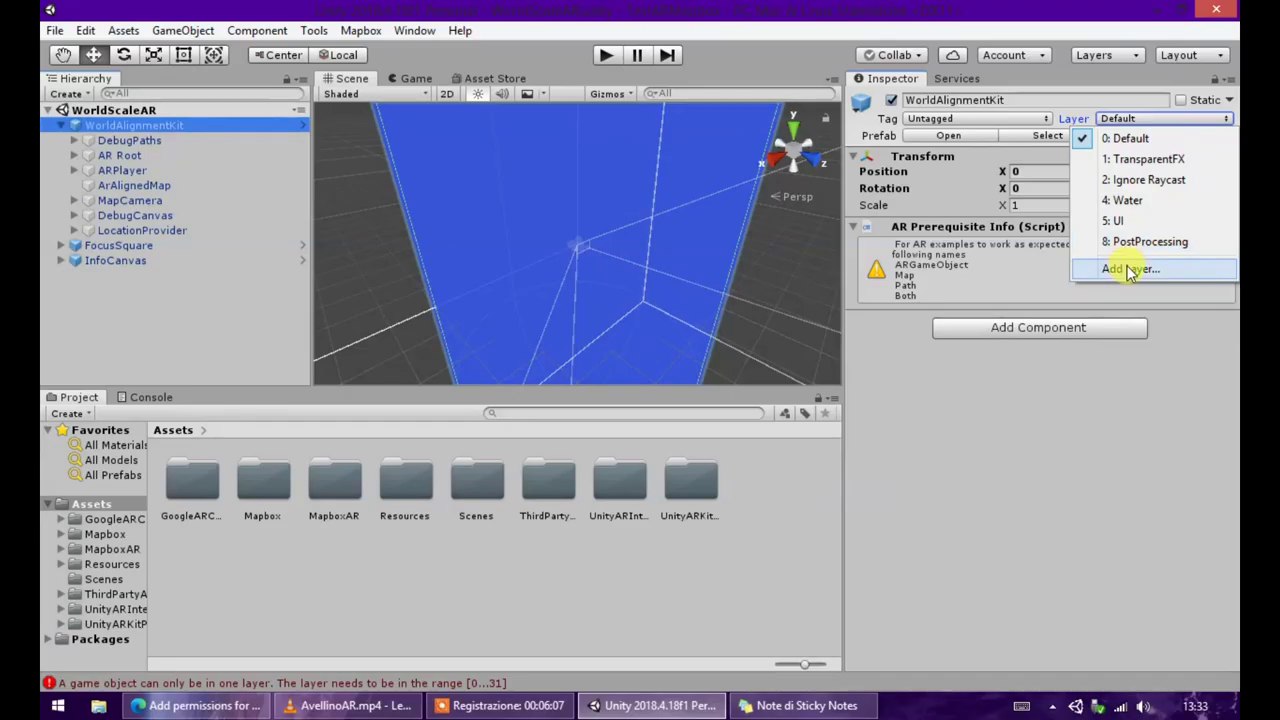
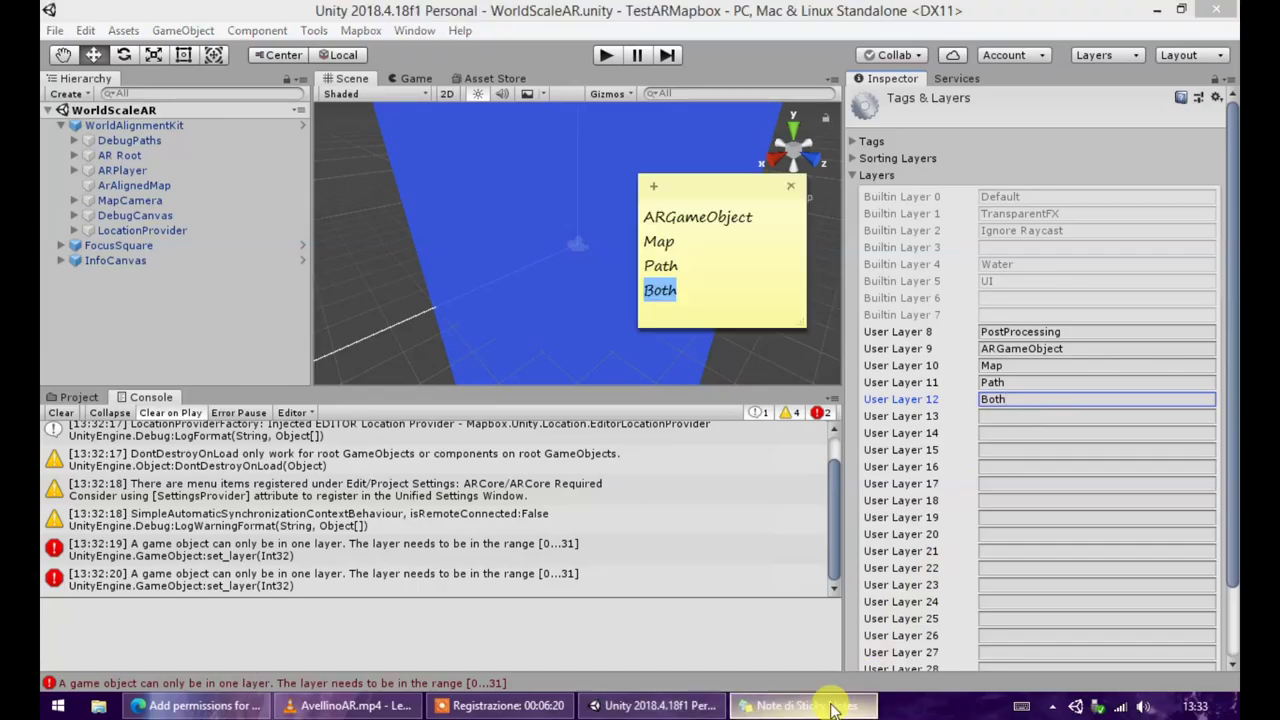
Ar prerequisites
To correctly configure Mapbox, some elements must be added to the WorldAlignmentKit object as shown in the photo below
- Android Build Support
- WebGL Build Support
- Windows Build Support (IL2CPP)
- Documentation
Configuration
We configure the map, the object to select is ArAlignedMap, in the inspector select the script Abstract Map (Script) and in the General tab it is possible to select the city where we want to build our AR environment. checked, we can either search for the city or select the geographic coordinates latitude and logitude anywhere using Google Maps. With the zoom option you can choose how precisely to move towards or away from the target area, while with the geographic coordinates you can choose whether to extend the map north, south, east, west. To view the result you can click on Enable Preview.
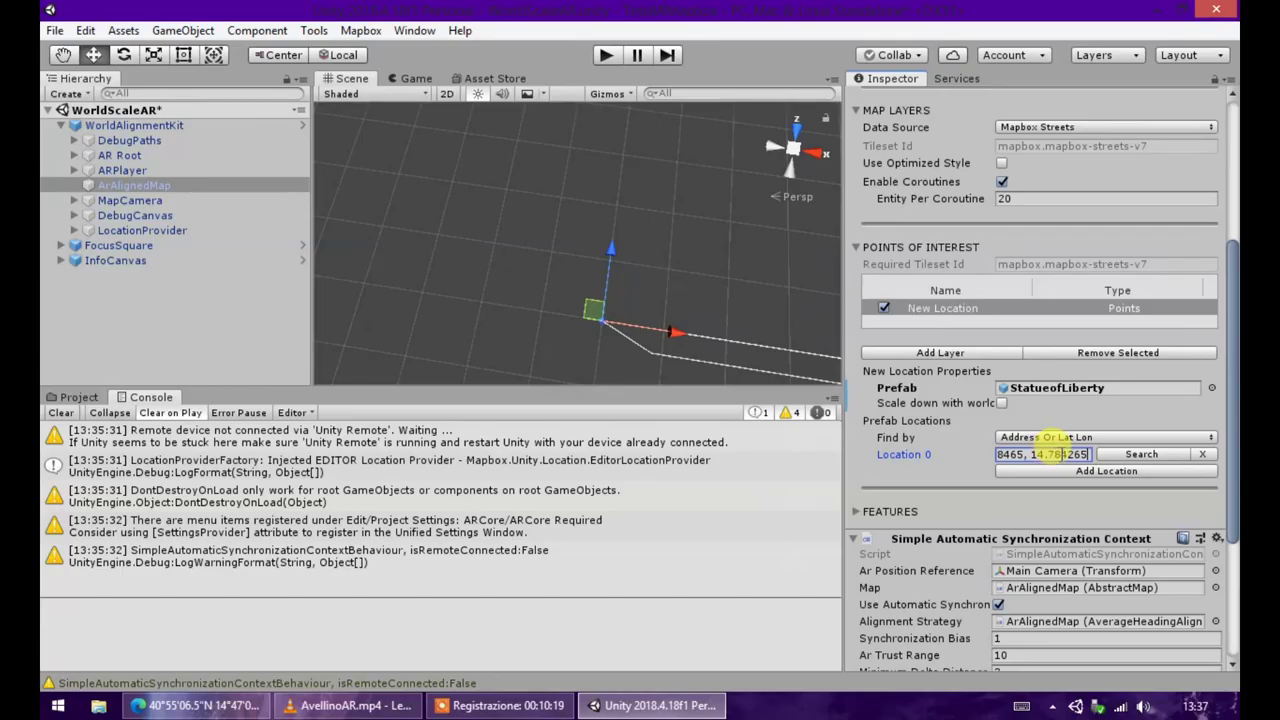
At this point it will be necessary to choose the geographic coordinates of the objects to be inserted within the scene, to do this we can use Google Maps. Once we have saved the geographic coordinates of latitude and logitude we can add our 3D element to the scene, to do this click on ArAlignedMap and in the inspector we open the **Map Layers -> Point of Interest ** tab, then click on Add Layer
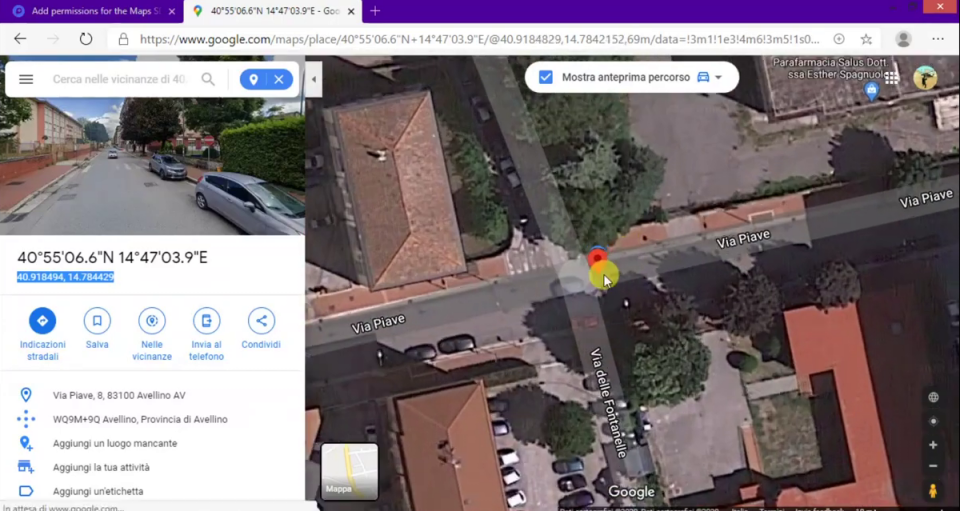
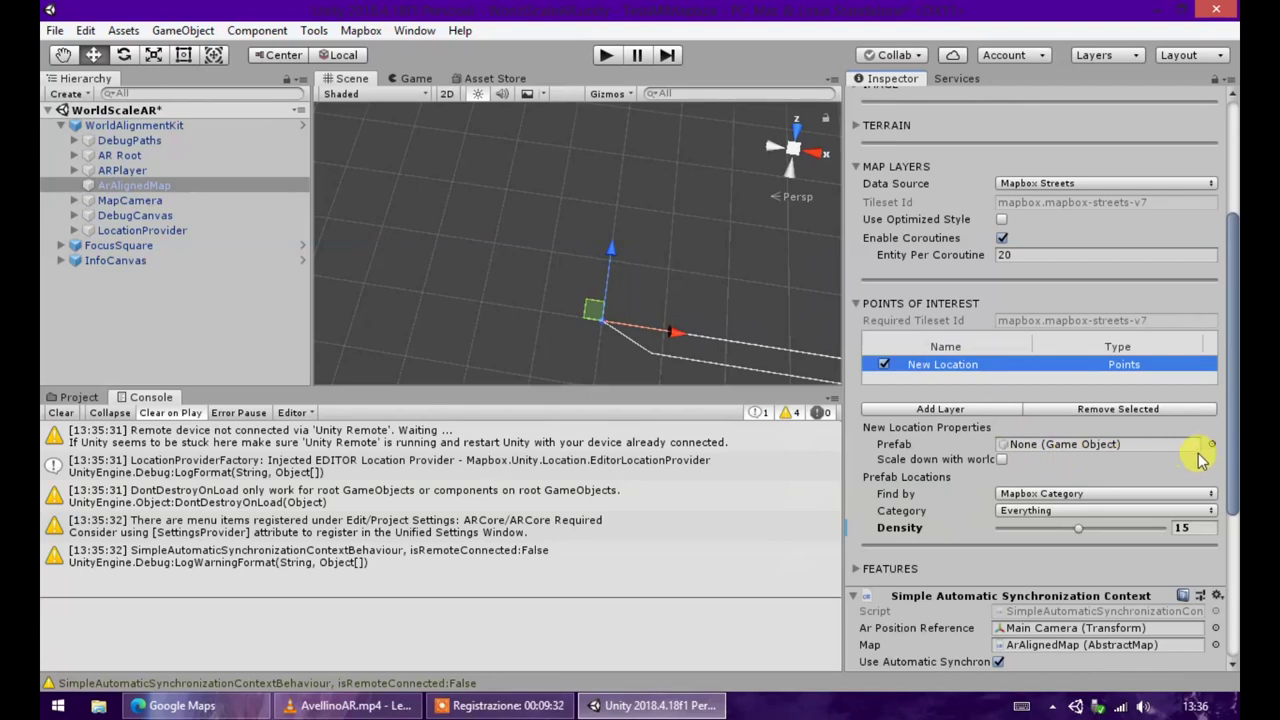
At this point we select a prefab from the saved ones or a custom one of our choice suitably imported into Unity, after inserting it click on add location and select in the drop-down menu relating to Find By Address Or Lat Lon and insert the geographic coordinates of the point where we want to put the object in the form latitude, longitude.
Now that we have our element in the scene we can insert as many as we want in various points of the map, or repeat the same element on several points of the map.
Configure Unity to build on Android
To finish our project and build the apk on android click on File -> Build Settings -> Click on Android -> click on Switch Platform, it will take a few minutes depending on the processing power of your machine. At this point click on player settings, click on XR Settings and enable ARCore. Click on Other Settings copy the package name (we can also customize it first) and paste it in the Company Name tab.
Now we can do the build and if you have done everything correctly you will be able to build it successfully.
Youtube
This tutorial is also available on youtube.
Conclusions
Leave a comment if you want and let me know if you liked this post and you can also share it on social networks.
Thank you