This year, I decided to create an interactive app to track Santa’s journey in real time! To achieve this, I used Ionic Angular for the cross-platform interface and CesiumJS for the 3D globe. Here’s how I did it.
Introduction
The idea was to combine the power of CesiumJS, a robust library for 3D visualization and mapping, with the flexibility of Ionic Angular, a framework that enables the creation of mobile and web apps from a single codebase.
In this tutorial, I’ll walk you through the key steps to build a similar app based on my experience.
Project Setup
1. Setting Up Ionic Angular
To start, I created a new Ionic Angular project:
| |
This command creates a minimal project scaffold. After entering the project directory, I launched the development server:
| |
The browser loaded an empty app, representing the starting point of the project.
2. Integrating CesiumJS
I installed CesiumJS in the project using npm:
| |
Then, I configured Cesium to load its assets properly by modifying the angular.json file:
| |
Finally, I added the global variable CESIUM_BASE_URL to tell Cesium where to find its assets:
| |
This configuration was added to the main.ts file.
Creating the 3D Globe
1. HTML Layout
In the cesium-map.page.html file, I created a container for the Cesium globe and a footer with interactive buttons:
| |
2. Initializing Cesium
In the cesium-map.page.ts file, I initialized the Cesium globe and configured the buttons:
| |
Source Code
The Source Code is available on GitHub.
Conclusion
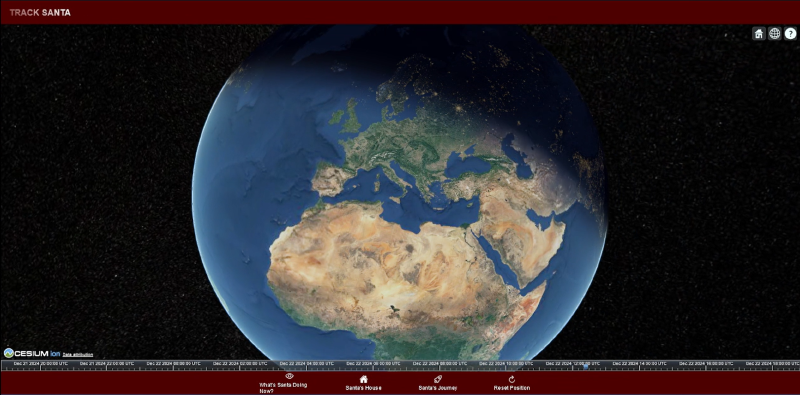
With Ionic Angular and CesiumJS, I successfully created an interactive and fun app to follow Santa during his journey. The project combines the best of 3D visualization and cross-platform flexibility, delivering an engaging experience.
If you want to create something similar, follow this guide and add your personal touch.